Social Icons

h
Showing posts with label nails. Show all posts

Thursday, 17 July 2014

No professional tools nail art TAG

Hi! I've been super busy clearing out my bedroom so space is very limited at the moment.
I've started my driving lessons now, had my first one lest week and my second one today... pooing my pants (not literally) ahaha

Because space is very limited, it's meant that my nail art tools have been packed away and stacked, so I decided to do a super simple nail art tutorial where I use no professional tools or professional brushes. The results? not too bad!


I've had quite a bit of time on my hands since I've finished college. I mean I've been applying for more jobs full-time or part time to go alongside my job but nobody want me yet haha! I've redone my youtube channel, I am no longer:
But I am now known as:
Partially because I won't just be doing nail art anymore, I have some great videos in line. The new channel name is a mix of my last name really, and some randomness. I'm thinking eventually I might give vlogging a shot, doesn't hurt to try! :P 

I have a few blog posts lined up, I plan to show you my bedroom when it's done. I have designed it myself and bought all the things, I'll be having a go at upholstery and my room is going to be a bit of mish mash - mainly zebra with hints of classic vintage and modern art.  
I've got more nail art coming up - I'm sure you will love the next one!

Did you like this nail art? Do you have professional nail art tools? Anything you would like to see me blog about or make tutorials for? What do you think of my YouTube remodel?

If you would like to follow me on instagram you can find me here - my instagram page I will approve requests, ask for follow back and you'll get one.

If you are a brand or a blogger and would like to collaborate then please do get in touch :)
I am going planning a giveaway too, I'm not sure whether to to separate ones or maybe a giveaway featuring a couple of different brands - get in touch if your interested. I'll host the giveaway on this blog and apply a rafflecopter where entrants must follow both our twitters and join this blog. We can all tweet about it too, so yeah if you like the sound of that then tweet me - @sammigirl1994 :)
Here is my YouTube Channel, please subscribe!

If you haven't already, please join as a member on this blog, you can do that under the followers tab at the top of the right sidebar and you can join with your email, twitter or blogger/google+ accounts :) I have competitions coming up (Including where you can win clothes, makeup, jewellery etc! So hurry up and join so you can enter!) and you must be a member to enter, if you haven't joined your entry is invalid :D

Samantha - @sammigirl1994
ffh
x

Monday, 6 January 2014

Yellow Polka Dot nail tutorial with optional bows

Heyy! :D
I'm back at college tomorrow *boooo* I actually don't mind college I just don't like that days teacher... I constantly get told off. I mean I know I'm a bit immature, I like to have a laugh but I always do my work, the other teachers let us talk while we work - but nooo this one wants us to be silent. All day. -.- Me? Silent? ahaaa I'm only quiet when I'm around people I don't no :s

Because it's new year, sooo many people have made new years resolutions. Most people probably won't even keep them. Apparently this time of year, gyms see the most people signing up, but people drop out after a little while. People say they will go on a diet, not eat chocolate, not drink wine etc. Why make a big sacrifice like that when you won't keep it? I sure as hell wouldn't be able to cut out chocolate completely! O.o Just be healthier and have less, I no it can be easier said than done, but it's easier than having none! Why don't we make resolutions that make us a better person? Like helping more people, to try and make at least one person smile a day, to give without a reason, to give a cup of tea to a homeless person?

Any way I have been promising to film nail art tutorials for a while, instead just showing you the pictures. I told you I've got a little tripod for Christmas and so... I've recorded a nail art tutorial. I have started off with something super simple, as I wasn't sure on how to record the angles and how to film the tutorial in general. I was also nervous with it being my first tutorial so my voice sounds weird :S I will make sure to improve in videos to come! :) I won't be doing as many voice over the videos, I will be speaking on the camera to you, but I am starting off simple :)

This is the basics of this tutorial, I hadn't cleaned up around the edges at this point as I hadn't finished the tutorial. You could wear yours like this if you don't want to do the bows - that's optional. Just make sure to give it a glossy top coat to stop the acrylic paints from coming off and the nail varnish from chipping.

This is the finished polka dot nail art look. I used crystals for the centre of the bows, however if you don't have those then you could use silver nail polish and/or a glitter polish. Like I said, the bows are optional so you could just do the polka dots.

The main nail varnish I used was a 'one coat' By Nella. You can get this from MoYouNails here for £7.99 now £5.49.

Want to see how to create this nail art look? 
I have changed my YouTube name to:
' and that is where I will be uploading my nail art tutorials, tips, tricks etc. Please subscribe to my channel :)

The link to this video is here you can find out where I got all the tools and polishes from there too :) Please like the video and subscribe to my channel, there are lots of faboo tings to come! :D

What do you think of this nail art look? Would you wear this? Do you like the tutorial?

If you are a brand or a blogger and would like to collaborate then please do get in touch :)
If you haven't already, please join as a member on this blog, you can do that under the followers tab at the top of the right sidebar and you can join with your email, twitter or blogger/google+ accounts :) I have competitions coming up and you must be a member to enter :D


Samantha - @sammigirl1994
ffh
x

Wednesday, 25 December 2013

merry Christmas!! and Nail Art

Hiii! I have been awake since 1am last night because it was sooo hot as my dad had got the fire to heat the whole house up wayyy to much! I ended up going up to bed about 2pm after dinner and my dad came up and woke me up about 4! whutt?!

I've had lots of nice presents, some clothes, nail art things, a hairdryer, One Direction annual, calendar, book and album and... A mini tripod! :D... perfect for filming nail art! So if you like my nail art I've done on FashionFixHunter Previously then you might want to subscribe to my YouTube channels I've set up, I'm not sure which one I will upload the nail art tutorials too so you could subscribe to both one and two.


So I've finally listened to One Direction's new album - My parents asked me not to listen to it on YouTube or anything and O.M.G! :D love love loveee! My sisters moving out in January so I FINALLY get my own bedroom :))) I am redocorating it all with zebra print on one wall, the others silver with a photo collage on and some other ideas. (I'll post pictures on here when Its all done) I am going to have a verse of One Directions lyrics on one wall, but before I heard the album I was going to have Harry's bit and a bit of the chorus from Story of my life... Now I'm kinda torn between some from 'Strong' 'You and I' or 'dont forget where you belong' Is there any 1d fans out there, any ideas? :)

M has now started her radio therapy, and I like to do her nails, manicure, pedicure and all that to pamper her a little because she is inspirational and so brave! She doesn't like nail art that is really in your face, I hate my nails to look naked or half naked, they like to be dressed up :D
I did struggle to do her nails because shes bit them shorter than her fingers. I do have falsies but she said it wouldn't be good for cooking in case they fall in. She ended up wanting shnowmans! I forgot to wipe around the edges before I took the photo but oh well!

As I said I do like my nails to be more detailed and I often end up doing my left hand and not being able to do my right because my left hand is just a turd.
I did these the other day, they took a while to do aha >.< But once I got going its pretty easy and quick. Like I said, my right hand was a little harder to do.
The amount of people that have said nice things about this nail art is amazing! I keep being told I should start ainting other peoples nails as they think I could make money from it. I don't think I'm good enough and I'd be scared of painting someones nails and making a right mess of it. 

I've only just got acrylic paints, both of these Christmas nail art looks I did using the paints and teeny brushes and needles to do the fine details. I will have to get use to doing nail art with acrylic paints because I love the way you can wipe it off with water and do it again if you do go wrong, you can mix colours, make things look more 3D etc and I think it pretty much beats nail varnish for nail art. I use a base coat varnish, top coat varnish always with acrylic paints, the first nail art - the blue background is nail varnish.

I'm going out tomorrow to a family friends with my family tomorrow for a Christmas dinner. Going to a families one day this week for a Christmas dinner... All these Christmas dinners?! D: I'm all about the puddings me, you can't get bored of cake and chocolate and ice cream oufff :D

What do you think of these nail arts? Is there any nail art looks I've done you want a tutorial for now that I have a tripod?

If you haven't already, please join as a member on this blog, you can do that under the followers tab at the top of the right sidebar and you can join with your email, twitter or blogger/google+ accounts :) I have competitions coming up and you must be a member to enter :D


Samantha - @sammigirl1994

ffh

x

Friday, 29 November 2013

Pink Nail art using BB Couture varnish

Hii! I've just got back from having my flu jab... I hateee jabs so my arm is like proper hurting. Playing it cool though, wouldn't want everyone to no I was wimpy ;P
Who watched the 1Dday? In England it was on from 7pm until 2am in the morning and I was trying to watch it, but my dad thought it was funny to keep shouting me to go to him, then say 'what you doing?' as if he never shouted me -.- I ended up going to bed at 12am, so I missed the last two hours of the 7 hour live stream, for anyone who actually managed, you should get a medal! I mean my bum had gone soooo numb it felt like I didn't even have one anymore! Went straight to sleep I did! Oh and anyone who follows me on twitter.. I apologize for all the #1DDayLive #GetInvolved tweets :o

Anyway, I'm back at college tomorrow so I thought I'd get on here and put a post up for you. I went through town after college last week and picked up some acrylic paint so I could attempt to paint my owl (I draw a picture, it looks okay until I paint it so I definitely need to practice!). I also got a paint pallet thingy. I have been looking into getting acrylic nail paint to do my nail art with to, but yesterday I saw a post on another blog about using the standard acrylic paint on your nails. Obviously you'd need to use a basecoat or it would stain them. So I thought heyy, what's there to loose, I'll try out this paint I got the other day.

 I used BB Couture in 'Snow Bunny' which you can get here for $10.99 - They ship worldwide, I'm in England and I got them :)
I also used 'Diamond Dust' from BB Couture, you can get that here for $10.95. This varnish has sheer gold and green iridescent glitter to add that sparkle or the finishing touch to your nail art.
I love these varnishes, they are really good quality! They are all named something fun, they can be a little transparent but two coats is enough to be opaque. I like varnishes that are a little transparent sometimes as that means you could have something less bright or buildable depending on what shade you like. These varnishes also have the base coat, top coat and the colour all in one! However when doing nail art, I'd still use a clear top coat, to seal in the nail art paint and details you've added.
The nail art brush is double ended - brush one end and dotting tool the other end. This brush is from Avon, it's good, although I think I will buy more elsewhere soo I can do even smaller designs. Avon only had the one size or I could have bought more from them.

T create this look, I did two coats of BB Couture Snow Bunny, waited for that to dry. I then added a coat of Diamond Dust, because this nail art is a little simple for me to wear, I like my nails to be like BAM and just lots of small detail. But I'm trying out some new methods - I've mastered the marbling technique, I've used nail art pen things, which I though I should now move on to brush's which I'm finding a little hard to use my left hand to do my right as I tend to add to much pressure.
I then squeezed out a little of the acrylic paint and used my brush to start making lines across my nails. I find using the acrylic paint much better than using nail art pen applicators, or using a brush dipped in nail varnish as those can go a little stringy if I don't work fast enough and find myself wasting quite a bit of varnish because it starts to set before I've finished. Also, with the acrylic paint, you can clearly see when its dry as it goes dull and looks dry - instead of poking at varnish testing if its dry. Obviously because of that, you have to apply a top coat, to stop it cracking and it also puts the shine back into the paint.

Above is my finished nail art. I will be getting a tripod, so I will be going through my nail art and starting up full tutorials for you to watch. If that is something you are interested in then please join this blog (under the followers tab on the right hand side of the page near the top) and also my YouTube pages channel 1 and channel 2. I will be uploading nail art to one of them and special effects makeup to the other... OOPS! SPOILERR ALERTTT! yes!.. I may as well tell you now :s
 I have some collaborations coming up  with special effects companies, I'll be creating special effects that you can do at home! I will be blogging the looks and also posting tutorials on YouTube and some extras on here too. So make sure you subscribe to both as I don't no which channel I will use for which yet but best subscribe to both then ;)

If you haven't already, please do join this blog (under the followers tab on the right hand side near the top) to be kept up to date with future posts, to be able to enter competitions - you have to be a member of this blog to enter to win goodies!

What do you think of this nail art look? Have you tried it at home - if you have you could tweet me photos? Do you own any BB Couture varnishes? I don't no what to call this nail art look, got any ideas for the title of this blog? - comment them below or tweet me :D


Samantha - @sammigirl1994
ffh
x

Monday, 18 November 2013

BB Couture nail varnish, nail art

Hii! Hope your all okay! It's nearly Christmas, and I have some Christmas posts coming up on the run up. Its getting quite busy :)
Who has been watched 'I'm a Celebrity get me out of here' last night? I can't believe the men crying and in Joeys case screaming, could you call that screaming when he parachuted from the helicopter? Oh! and when he said  'I'm not a confrontational person. I'll only confrontate them if they start on me.' That is all I've heard on the news and shows today :/ I mean I thought that is a word? I don't really nno many of the people on the show, but I want Amy Willerton to win! 
Back to the topic... I was sent some nail varnishes from BB Couture. I have used two of them in this nail art look. If you have saw the galaxy fashion trend, you can imagine the sort of look were going for.


I used a range of nail brands, 'tech'nic', 'Nails Inc' 'LA Colours' and the main ones were the BB Couture - the reason I decided to do this look.

These are two of the nail varnishes from BB Couture. BB Couture wanted a healthier nail polish so they skipped the formaldehyde skipped the toluene and of course we skipped the DBP. They then added extra pigment for more vibrant colors; they added base coat, strengtheners and top coat. 
I wasn't sure how this works, how can you apply a base coat when your not applying it to the base but with the varnish? I'm still not sure now. However I have tried these on their own, I have quite brittle, bendy nails so polish can flick off when my nails bend unless they are strong enough.
These varnish didn't flick off, chip or peel so I'm really happy with these!

The pink varnish is 'We love the ta tas'. The purple says 'naughty navigator' on the bottle but on the website that name is grey.. I think this one is actually 'Manipulative Martin' You can copy/paste those onto their website and you will find them :)
These nail varnishes cost $10.95 USD - They ship international, but if by chance they can't ship to you they will return your money and recommend another company that will ship BB Couture products to you. I'm from the UK and they delivered to me :)


I used these 1.5mm rhinestones from MoYouLondon which cost only £2.99! These are very versatile so you can use them to add detail to your current nail art, you could try the Japanese nail art (I think I'm going to give that a go) - you will need a range of rhinestone shapes and acrylic details too. 

The picture above is my nails and the look I created. The galaxy nails are quite effective, as you can do so many different designs with the same colours, you could use more orange on one, more dark colours on another, you just have to experiment to get a look you like. 
I thought these BB Couture nail varnishes were perfect for this look, the 'Manipulative Martin' varnish is especially good as it adds some sparkle along with a silvery purple tint, this can be blended with so many other colours on the nails with this look to create different shades etc.
 I will be doing a tutorial  for this nail art look and uploading it to this blog so watch out! 
You might want to join this blog - under the followers tab on the right near the top to be notified when I do the tutorial for you.

Do you like this nail art look? Have you tried the galaxy nail art before? What do you think of the BB Couture varnishes? 


Samantha - @sammigirl1994
ffh
x

Saturday, 21 September 2013

MoYou London Kitty collection 06 nail art

Hiii!
I've been pretty busy this week getting back into college and all that, and I have already started doing my coursework in advance... Yes, I'm being a geek. I've decided I'm going to try my best this year with my education and blogging too, and not get distracted or anything. Just when I was thinking that, I happened to go onto YouTube. I came across Sawyer Hartman's channel while I was watching one of video Joey's videos. There's a bunch of YouTuber's I've started watching, I got caught watching some of their video's in class.. So I won't do that again.. I'll try not to anyway :p I was going to upload a nail art tutorial to my YouTube account for this post, but I've decided, I should really get a tripod because the quality is pants and I can't position the camera right while trying to paint my own nails. So instead, today I will show you the design I have created and the tools I have used to help. I will get a tripod, preferably one of those bendy ones and I'll re-do the video and upload it here and to YouTube, so if you like this design, checkout Moyou London and be ready for the tutorial :D

I used the Kitty Collection 06 plate, the Kitty collection is all about illustrations. Soft and edgy or cuddly and sharp, if you like doing nail art there's something for all you to keep your claws in style. The plates are made  of stainless steel with a plastic base. The designs are engraved on the image plates which you simply apply printing polish, then use the stamper and scraper to transfer the images to the nails.

This is the stamper and scraper I have been sent from Moyou London, I like this stamper because e it is bigger than my last one, which sometimes wasn't even big enough to fit some images on, meaning my designs were more limited. This stamper is medium sized so some designs may require a bigger stamper which Moyou London do also do, I'd love to try that one out too at some point :)
You can get this stamper in pink for MoYou London here for £3.99. If your into stamping, this is a must have at it is compatible with any stamping plates, and it's a great price!

This is my own nails, with the design I created, with gradient nails and then I used the stamper and plate to create the flowers. I then added more details by hand. I'm not really one to use stamping or stick on patterns/images, as I think if I can draw it myself then I will. Although sometimes my own drawing can be a bit messy when I first try to do a new design, I just practice until I can do it. However I can't seem to get the hang of butterflies and some flowers (not the simple ones) so stamping a good alternative. Or if you are not good at nail art yourself and would like to be able to do something cool yourself then you could try these stamping plates from MoYou London. 
I did struggle using the plate and stamper to start with, my stamping polish dries pretty quickly so you have to work quick with it. Then I found that it worked once and didn't transfer to the stamper the next, the solution is to wipe the stamper after every use and it works perfectly! I'm pretty new to stamping, I had a little stamping plate bought me for Christmas once but I gave up on it years ago ahaa, I don't think that one was very good quality and put me off a little :P

You can get this stamping plate here for £4.99! There are so many designs you can do with one plate, it just takes a little imagination :)

Do you like this design? What do you think of MoYou London's collection on their website? Have you tried stamping? Do you have any MoYou London's plates or tools? Who's looking forward to the tutorial?

MoYou London's website is here
Samantha - @sammigirl1994
ffh
x

Wednesday, 19 June 2013

NailTopia instant nail art stickers review

As I'm sure you all know I do love to do nail art, and I love learning new techniques and different things I can do with my nails. It really annoys me when I don't get it quite right and I can sit there and do my own nails over and over until I get them to look how I want, sometimes for hours trying different styles, colours and basically the time just flies by!

I was sent a little parcel from NailTopia who sell a huge range of nail art products, from nail varnishes, rhinestones, glitters, dangels to stickers and loads more. I have looked through their website and a there's so many nice things on there, it's worth a look! 

Anyway, I opened up the parcel envelope to find this
A pink paper gift bag and I opened it up...

There were four packs of instant nail art stickers/transfers.

This pack has small black and white flowers, that if you look super close it almost looks like a black lace on the flowers for extra detail. I think these would look brill on a simple manicure, but as I do I can't make it simple and have to add extra dashes of colour to make it different :)

This nail art pack has lots of tiny teddy themed stickers, I think I'm going to do some sort of Japanese kind of nail art with these.

I think I qill use some of these to add to the marble effect nails, if you don't no what the marble effect is or how to do it, I will be putting up a tutorial for you all :)

These are teeny weeny butterflies, flowers and a tiny gem. I'm not to sure what nail design I am going to do with these yet, but I will show you the results.

Here is what's on the back of the packets, they are simple to use, you just peel them off the backing sheet and apply to the nail. Press lightly and add a layer of top coat to seal it.

Here is what the sheet looks like out of the packet. These stickers are good because they are so thin, meaning they are more flexible on the nails, I've had thicker ones that have cracked or been caught and ripped off. So these seem much better.

I usually paint everything on my nails, If I can draw something on my nails then I will. but there's no way I can draw these, I mean they are so detailed! I will use all of these stickers, and I will be making nail tutorials which I will post on here so you can 'get the look', easy to follow, as I know what it's like trying to copy of expert nail art tutorials. I was like what the hell does that mean? How do I do that?! So don't worry you will be able to follow them :)

NailTopia sell a huge range of nail art equipment, tools and pieces and paints. They are good prices, and there are some things I would deffo love, please checkout their website here

Which nail art stickers are your favorite? what designs would you do with them? What pieces do you like from their website? leave a comment below, share this blog and please join it! You can join under the followers tab on the right hand-side of the blog :)

Samantha - @sammigirl1994
FFH
X


Wednesday, 12 June 2013

Free OPI nail varnish!

If you want to get a free OPI nail varnish, you can get it when you buy any pair of sandals from shop company  the lowest price sandals are £6.99, and OPI is pretty expensive compared to other varnishes so it's deffo worth it when you get a free OPI nail varnish!

To get your nail varnish for free simply buy the sandals and at the checkout enter the code FREEOPI at the checkout.

Samantha@sammigirl1994
ffh
x

Friday, 17 May 2013

Get Kylie Jenner's look

'Keeping Up with Kardashians' Kylie Jenner was spotted out in Miami  wearing this blue baroque dress which is from ... boohoo! YES, booohoooo! :) so you can get your very own right now!

here is a full outfit collection so you can get the look too:

Have fun!
Samantha - @sammigirl1994
FFH
X


Monday, 27 August 2012

Two Crafty Unicorns - Hello Kitty nails

To be honest, I wasn't a fan of false nails, I think I've only ever wore one pair from Claires years ago for a wedding, but they didn't look real enough for me. And my nails don't tend to fit false nails either. If you've saw my previous nail art posts, you would no that I like to paint my own nails with strange, bright and unique designs. However as FFH is now in collaboration with Two Crafty Unicorns I obviously had to  test them, photo them and blog about them. I was slightly worried about glueing them to my nails as removal can damage your nail, or leave them feeling bumpy.  

Anyway, the little parcel arrived to my door and I love packaging (if its nice obviously), first impressions ALWAYS count! Here is what it looked like
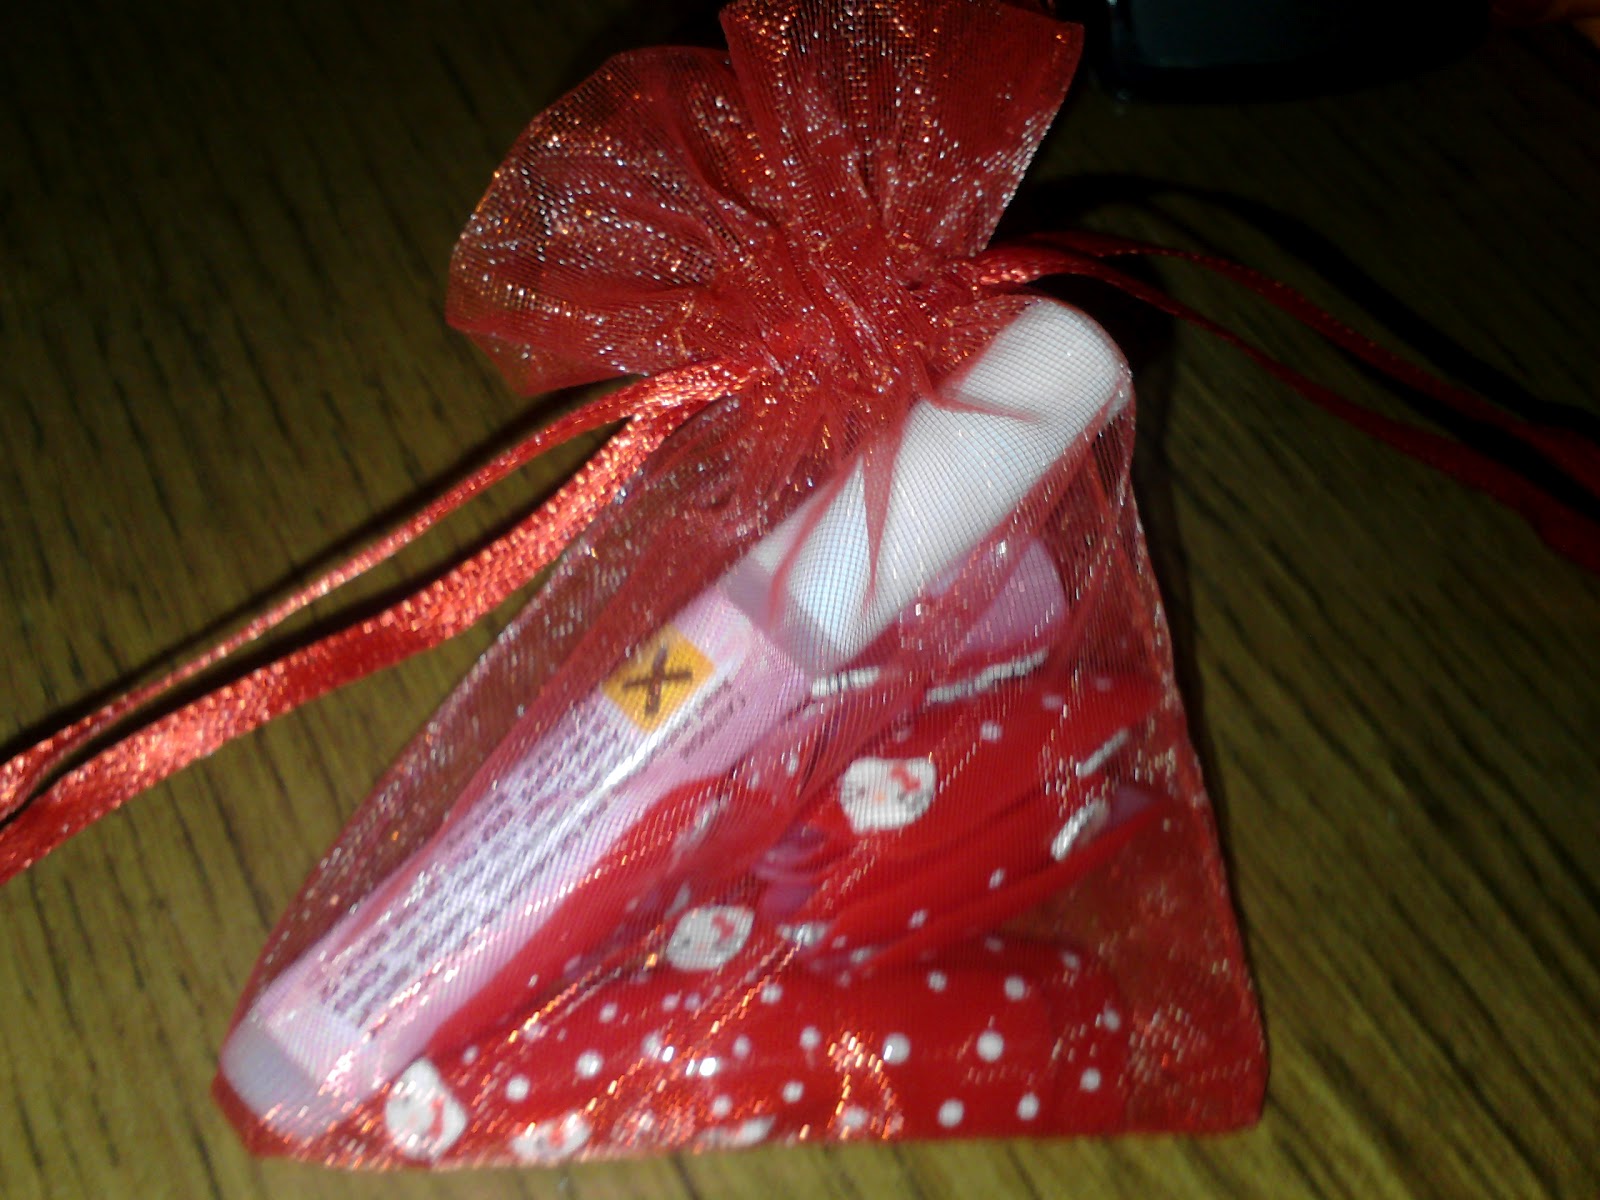
Pretty cute right?! It comes with extra nails, so you can find ones that fit too. The little tube of glue came with the nails so I could apply them :)

My nails are quite long, and I didn't want to file them down so I kept the false nails long too.; but you can file yours down if you have short nails or if you just don't like long false nails. I was shocked by how real they looked! They are painted with OPI nail varnish, have little white spots on and a little hello kitty on each nail and then sealed so the polish doesn't crack. Even though I don't like other people painting my nails, and I only do my own... I was impressed! I didn't wear them on my holiday as I had painted Union Jacks on mine and rainbow tiger print on my thumb nails. But I would have wore them then, because I loved them! Obviosly going in the pool and sea most of the day every day may have damaged them too, so I have kept them and I can use them again because I didn't loose any :D    

The nails came off nicely, not leaving any marks on my nails. But if you did happen to get lumps of glue remaining on your nails you can just use remover to get that off. Maybe a coat of nail strengthener afterwards - I have weak nails so I keep them as strong and healthy as I can :)

Here is a close up of one of the nails 

What do you think of these false nails? would you wear them? :)

Samantha
FFH
X


Sunday, 22 July 2012

Graffiti Nail art


Have you ever walked past some graffiti and thought, WOW thats some pretty cool stuff! I am not saying its right (because I don't agree with it at all), but there is some amazing artwork that goes into some of them. I think there should be places, like special walls for them where they can go paint the walls and people can go to look at them if they want to.

Anyway... more to the point. Some graffiti is inspiring, you can take a piece of graffiti and turn it into something new! Theres so many you can find thats pefect to do this!


I don't think the picture really does the nails justice, but anyway; I used graffiti to get this nail art design, again I used LA Colours nail varnish that I was given to do this - www.lacolours.com these are the main colours I used:
Then the pink and the black fine details are some cheap varnishes I got off of ebay. I will be adding video tutorials to do my nail art once ive got my camcorder, but for now heres the simple instructions :)

1 - paint the whole nail green (u did about three coats)
2 - from the outside to the in, swipe the black cross one side, then do the same for the other so you get a good triangle shape
3 - outline the black triagles with pink paint (nail art pen, coctail stick etc)
4 - DOODLE AWAY! :)
5 - add a top coat to keep the nail safe :) 

So what do you think of using graffitti to inspire your nail art? Leave a comment and let me know, and follow/join this blog as theyll be lots of nail art to come! and if you like a good competition checkout this one! - http://fashionfixhunter.blogspot.co.uk/2012/07/competition-win-pack-of-strawberry-curls.html - were giving away a pack of strawberry curls! :) follow me on twitter too- @sammigirl1994
FFH
X

Tuesday, 3 July 2012

Nail art gradient nails - inspired by Malibu - LA Colours

LA Colours

http://www.lacolors.com/

So I was given a range of LA Colours nail varnish to play around with and post pics on my blog about them. I've created quite a few looks, but since its almost summer holidays (which need to come quicker!) I decided to do first inspired By malibu! :) I have my Video recorder on the way in the post, so soon I will be able to show you how to do nail art with a video :D

There are so many celebs right now that are sporting amazing nail art, and if you wanna learn how to get that look.. Then you've come to the right place!


So heres a picture of a beach in Malibu with the sun setting, it looks gorgeous! Can't wait for my holiday! :D
 I was given a wide range of colours, but these are the ones I used:

They are really nice colours, they have nail hardening in them, and they're also chip resistant! But the 'shock' colour is actually more yellow than that blob, it bright yellow actually...

Here's a picture of everything I used to create the look

Red - LA Colours
yellow - LA Colours
orange (Atomic) - Nails inc
black - ebay
maximum growth & hardener (i use for basecoat) - Sally Hanson
Top coat - LA Colours
foundation sponge - can get from most supermarkets and beauty stores
fine brush - ebay
wooden stick - from a nail kit

How to do it:
(this will be a video when my camcorder gets here)
1. Paint all nails with the maximum growth and wait to dry.
2. Paint all of the nails yellow and wait to dry.
3. use the sponge to dab the orange from the bottom of the nail to the middle, allow to dry.
4. use the same sponge to dab the red from the bottom of the nail to 1/4 up, allow to dry.
5. use the black polish and the paint brush to draw a plam tree on the left of the nail.

The Final Look


 So above is me sporting the finished Malibu gradient palm tree nails, and I really like them! the colours are bright and they arn't fading like some varnishes do. they have that glossy look - which makes them hard to photo as they're just so shiny! so if you like these colours then head on over to http://www.lacolors.com/ and get yours now! :)

If you like this kind of nail art then subscribe, follow, comment, follow me on twitter (@sammigirl1994). And if you are stuck on what to paint on your nails or you want me to paint some for you to copy, then tweet me and your wish may just be granted!


                                                                               FFH
                                                                                  X


I love to hear from all you lovely peoples!
I always try to visit your blog in return and if possible I comment back.

Please don't leave in your comment for me to follow you if you haven't followed my blog first. If you join my blog under the followers tab let me no in the comments and I'll happily follow your blog back. :)

Calling all Bloggers!

Popular Posts

PP

 
Tweets by @sammigirl1994